Difference between revisions of "Updating Client"
| Line 55: | Line 55: | ||
==Setting Up Custom ClassicUO== | ==Setting Up Custom ClassicUO== | ||
| − | + | You can load with Razor Enhanced by setting up the UO Eventine client folders and then the Custom ClassicUO in Razor Enhanced Menu and selecting "Launch CUO". However, some wish to load with the ClassicUO client itself. | |
Below you can see an example of setting up your settings.json file. | Below you can see an example of setting up your settings.json file. | ||
| Line 64: | Line 64: | ||
2. If you use razor CE or razor enhanced you will want to set the path for those clients as shown below in the two "" after where it says "plugins". | 2. If you use razor CE or razor enhanced you will want to set the path for those clients as shown below in the two "" after where it says "plugins". | ||
| + | |||
| + | The rest of the lines can be left as default and set when logged in or on the main menu of ClassicUO. | ||
[[File:EditingTheCUOSettingFile.png]] | [[File:EditingTheCUOSettingFile.png]] | ||
Revision as of 21:31, 23 February 2023
Installing The Client
If you are installing our client first you will need our installer/updater. You can obtain that [| here] if you do not already have a copy.
You may get a warning asking you if you want to keep the download...It is safe so accept.
Once you have a copy of our installer. You will need to create a folder and name it "UO Eventine" (or whatever you wish to remember our client location). It is also wise to not install the program into the program files folders to avoid issues with windows. (Some keep their uo eventine folder in their downloads folder).
Place the Eventine_UO_Updater into the folder you created.
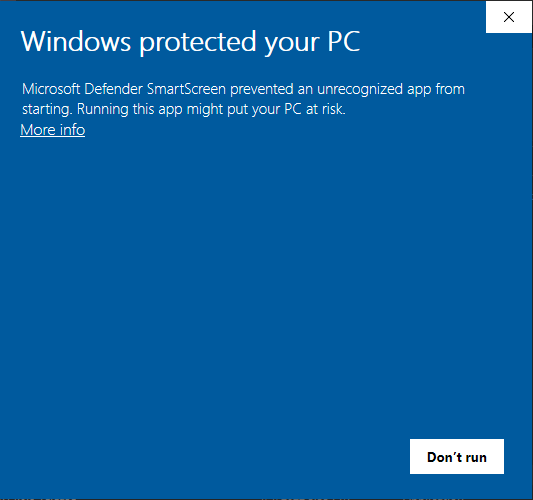
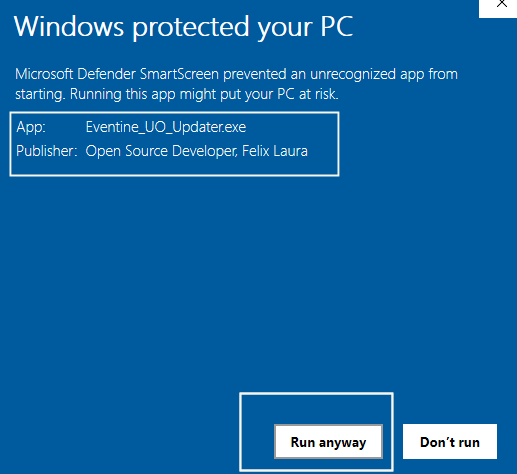
When you double-click the Updater program You maybe sometimes get a message from Windows asking if you want to run the program.
You will want to click the "More Info" link on the window and then select the Run Anyways button. (this window also will show the author Felix Laura aka Credzba The Current developer of Razor Enhanced.)
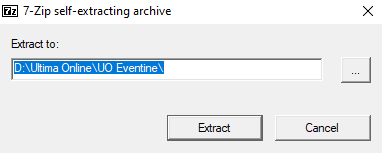
You should be given the option to unzip the actual updater into the same folder. (this should default at extracting to the folder it is inside). Make sure you are extracting this to the same folder your UO Eventine client is inside.
Select Extract.
Once that is done extracting there will be a file inside called 'UpdateUO' This is the installer/updater.
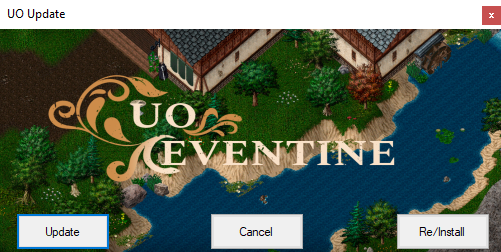
Double-Click on the UpdateUO file and it will bring up the installer/updater menu.
In this menu, if you are downloading the full client click the button on the right that says RE/Install. That will install the full client and let you know when it is completed. You can now load the server and play up to date!
NOTE: Once you have this updater anytime we update the client you can update again by simply just opening the UPDATE UO file and selecting update again.
Setting Up Custom ClassicUO
You can load with Razor Enhanced by setting up the UO Eventine client folders and then the Custom ClassicUO in Razor Enhanced Menu and selecting "Launch CUO". However, some wish to load with the ClassicUO client itself.
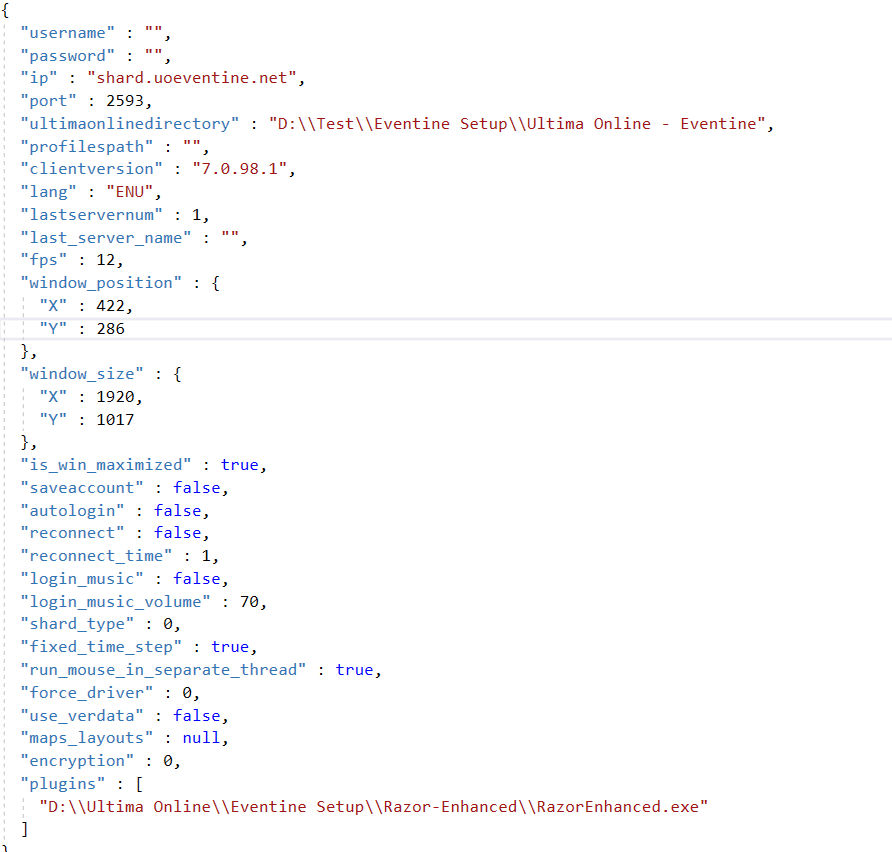
Below you can see an example of setting up your settings.json file.
You will want to set up two spots if you wish to use our custom ClassicUO (view more mounts and better druid/cleric spellbook handling at launch) client.
1. "ultimaonlinedirectory" has "" next to it on the right-hand side. You will need to put the path for your uo eventine client. You can see the example below.
2. If you use razor CE or razor enhanced you will want to set the path for those clients as shown below in the two "" after where it says "plugins".
The rest of the lines can be left as default and set when logged in or on the main menu of ClassicUO.


